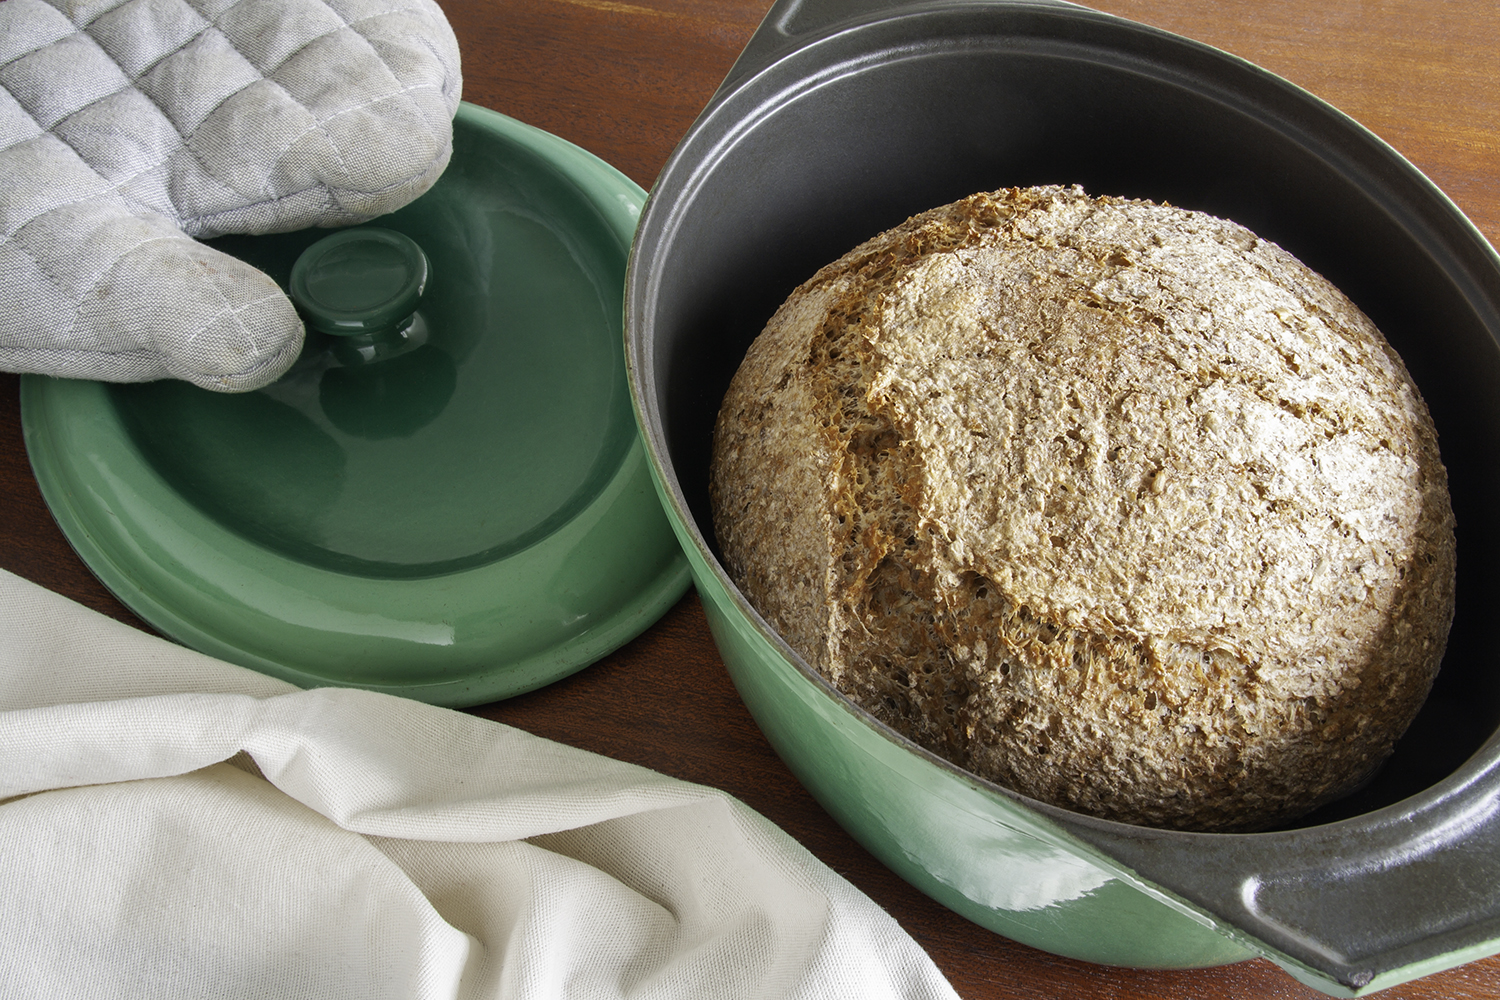
Rustic whole wheat bread
Bread from the bakery is usually so fluffy that the two of us could easily eat a whole bread in one meal. And that while home-baked bread lasts for at least 2 days. For breakfast and lunch. After a few slices of this whole wheat bread, you are completely stuffed. And since it contains extra fiber, you will stay satisfied much longer.

For a whole wheat bread, you really only need 3 or 4 ingredients: whole wheat flour, water, yeast and usually salt for the taste. Whole wheat flour is a flour that still contains all parts of the grain: the flour core, the germ and the bran. By comparison: the wheat flour that you usually find in the supermarket has about a fifth to a quarter sifted out, mainly the germ and the bran. And that while those contain the most nutrients, such as vitamins, minerals and fiber. All the more reason to buy whole wheat flour. When you're first looking for whole wheat flour in the store, the range can be confusing. That is why here you will find a convenient overview of the names and terminology that you might find on the packaging:
| French standard | Italian standard | Extraction rate | |
| Patent flour | Tipo 00 | 50% | |
| Cake or pastry flour | Type 45 | Tipo 0 | 70% |
| All-purpose flour | Type 55 - 65 | Tipo 1 | 75-80% |
| Light whole wheat flour | Type 80-110 | Tipo 2 | 82-85% |
| Whole wheat flour | Type 150-180 | 90-100% |
Some supermarkets do not sell whole wheat flour, but do sell "mix for whole wheat bread". In that case, usually a few things have already been added, such as extra wheat proteins (wheat gluten), extra enzymes to help the yeast, malt to give a dark colour and often also flour improver. The most commonly used flour improver is ascorbic acid (E300), also known as vitamin C. Another one that is commonly used is L-cysteine (E920). Both help to form the gluten. In the food industry, L-Cysteine is mainly extracted from animal proteins, feathers and hair. In Europe it is illegal to extract L-Cysteine from human hair, but outside of Europe this still happens. As the largest supplier in Europe, Germany mainly works with plant-based extraction via fermentation. That is slightly more expensive, but also a lot more sustainable. Either way, I prefer to use pure whole wheat flour, but of course it works with a bread mix as well.
If you often bake bread yourself, then it's best to use iodised salt. That is salt to which iodine is added. Iodine is a mineral that ensures the proper functioning of our thyroid gland. In Belgium, bread from the bakery is our main source of iodine. There they work with "baker's salt", which is nothing more than iodised salt. They use it in agreement with the Federal Public Service Health. This way they want to prevent the population from getting an iodine shortage. You can find iodised salt at your local supermarket.
Another thing that you can learn from bakers is to play with humidity. With a professional bakery oven you only have to press a button to add steam inside the oven. This helps at the beginning of the baking process to allow the bread to rise well and form a nice crust. At home you can simulate this with the help of a 'Dutch oven' or a cast iron casserole with a lid. How to do this is explained step by step below. Don't have a cast iron casserole at home? Then make sure to take a look at the local thrift store. They can be very pricey new, but second-hand they are very affordable.
Ingredients
Directions
Stir the yeast through the lukewarm water and set it aside.
Meanwhile, combine the whole wheat flour and salt in a large mixing bowl. You could also add some seeds at this point for extra bite. I personally really like sunflower seeds and flax seeds in bread.
Then make a well in the center and pour in the water with the yeast.
Combine until you get a firm dough. If the dough is still sticky, add a little more flour. If the dough is too dry, add a little bit of water, 1 tablespoon at a time.
Cover the mixing bowl with the dough with a clean kitchen towel and let rise until it has doubled in size. Depending on the environment, this takes about 1 to 2 hours. In a warm place it will go faster, in a cold place it will go slower. Never let it get warmer than 40°C/105°F, because then the yeast can die. Do you want to make dough in the evening for the day after? Then let it rise in the fridge. Such an overnight rise ensures that the yeast takes longer. And it also happens to produce other aromas. Some swear that retarding bread dough gives a better taste.
When the dough has risen, it is time to loosen the dough from the sides. The easiest way is to dust the dough with a little flour and to get it between the edges with a rubber spatula. If you have a mixing bowl with a handle, it can help to turn it in all directions and let gravity help you. Once you've gotten all the way around with the flour, you should be able to roll the dough around in the bowl. Cover again while preheating the oven.
Put your empty 'Dutch oven' or cast iron casserole with lid into the oven and let it preheat to 230°C/450°F for half an hour.
Remove the hot 'Dutch oven' or cast iron casserole from the oven with good oven gloves. Place it on a heat-resistant surface (be careful: very hot!). Remove the lid and pour in the loosened bread dough. Mist with a plant mister filled with clean water and put the lid back on. This will help to keep the humidity high at the start and maximise your bread's rise.
Bake with the lid on for 30 to 40 minutes, then another 15 to 20 minutes without the lid. This last step gives the bread a crunchy crust.
After baking, let the bread cool on down a wire cooling rack.
Storage tip: First let the bread cool down completely on a wire cooling rack and then store it in a dry place. Bread will keep longer if you haven't cut it yet. You can also perfectly freeze bread. In that case, it could be convenient to slice it anyway. This way you can take out as much as you need. And if you forgot to defrost the bread, you can simply reheat the slices in the toaster.
Ingredients
Directions
Stir the yeast through the lukewarm water and set it aside.
Meanwhile, combine the whole wheat flour and salt in a large mixing bowl. You could also add some seeds at this point for extra bite. I personally really like sunflower seeds and flax seeds in bread.
Then make a well in the center and pour in the water with the yeast.
Combine until you get a firm dough. If the dough is still sticky, add a little more flour. If the dough is too dry, add a little bit of water, 1 tablespoon at a time.
Cover the mixing bowl with the dough with a clean kitchen towel and let rise until it has doubled in size. Depending on the environment, this takes about 1 to 2 hours. In a warm place it will go faster, in a cold place it will go slower. Never let it get warmer than 40°C/105°F, because then the yeast can die. Do you want to make dough in the evening for the day after? Then let it rise in the fridge. Such an overnight rise ensures that the yeast takes longer. And it also happens to produce other aromas. Some swear that retarding bread dough gives a better taste.
When the dough has risen, it is time to loosen the dough from the sides. The easiest way is to dust the dough with a little flour and to get it between the edges with a rubber spatula. If you have a mixing bowl with a handle, it can help to turn it in all directions and let gravity help you. Once you've gotten all the way around with the flour, you should be able to roll the dough around in the bowl. Cover again while preheating the oven.
Put your empty 'Dutch oven' or cast iron casserole with lid into the oven and let it preheat to 230°C/450°F for half an hour.
Remove the hot 'Dutch oven' or cast iron casserole from the oven with good oven gloves. Place it on a heat-resistant surface (be careful: very hot!). Remove the lid and pour in the loosened bread dough. Mist with a plant mister filled with clean water and put the lid back on. This will help to keep the humidity high at the start and maximise your bread's rise.
Bake with the lid on for 30 to 40 minutes, then another 15 to 20 minutes without the lid. This last step gives the bread a crunchy crust.
After baking, let the bread cool on down a wire cooling rack.


